Initial Setup
After installation of MeerSOLAR, before running the pipeline, some initial setup is needed. These include downloading some required metadata for the pipeline.
Download MeerSOLAR metadata
To download and save the required MeerSOLAR metadata in appropriate directory, run from command line:
init-meersolar-setup --init
Click here to see parameters
Traceback (most recent call last):
  File "/home/docs/checkouts/readthedocs.org/user_builds/meersolar/envs/latest/bin/init-meersolar-setup", line 3, in <module>
    from meersolar.meerpipeline.init_data import cli
  File "/home/docs/checkouts/readthedocs.org/user_builds/meersolar/envs/latest/lib/python3.10/site-packages/meersolar/meerpipeline/init_data.py", line 9, in <module>
    from meersolar.utils import *
  File "/home/docs/checkouts/readthedocs.org/user_builds/meersolar/envs/latest/lib/python3.10/site-packages/meersolar/utils/__init__.py", line 14, in <module>
    from .sunpos_utils import *
  File "/home/docs/checkouts/readthedocs.org/user_builds/meersolar/envs/latest/lib/python3.10/site-packages/meersolar/utils/sunpos_utils.py", line 21, in <module>
    datadir = get_datadir()
  File "/home/docs/checkouts/readthedocs.org/user_builds/meersolar/envs/latest/lib/python3.10/site-packages/meersolar/utils/basic_utils.py", line 74, in get_datadir
    cachedir = get_cachedir()
  File "/home/docs/checkouts/readthedocs.org/user_builds/meersolar/envs/latest/lib/python3.10/site-packages/meersolar/utils/basic_utils.py", line 40, in get_cachedir
    username = os.getlogin()
OSError: [Errno 6] No such device or address
If data files are present, but needs to updated, run:
init-meersolar-setup --init --update
Setup prefect server
By default, MeerSOLAR runs using prefect ephemeral mode, which creates temporary in-memory server for workflow orchestration and removed once the pipeline is finished. However, if user wants, user can setup a persistent prefect server such that all pipeline runs can be seen.
To start prefect serve, run:
init-meersolar-setup --init --prefect_server
If prefect server is initialized, MeerSOLAR will automatically use that.
Custom data directory
By default, data directory will be at “~/.solarpipe/solarpipe_data”. It requires 5GB space. Sometimes home directory may not have sufficient space. In that case, one can setup data directory in a custom location as follows:
init-meersolar-setup --init --datadir </path/to/custom/datadir>
Setup e-mail ids
To receive remote logger Job ID and password, use can setup their e-mail id(s) in MeerSOLAR.
init-meersolar-setup --init --emails <youremail1@email1.id1>,<youremail2@email2.id2>
If you setup a remote logger as described below, you will receive a Job ID and auto-generated six-character password to access logs of a particular pipeline run from the remote logger. Without this password, one can not access logs of that particular pipeline run. This added security as well as privacy when multiple user uses the same remote logger link, for example, an institute based remote logger link.
Setup remote logger link
If remote logger is intended to be used, setup the remote link in MeerSOLAR metadata.
init-meersolar-setup --init --remotelink https://<remote-logger-name>.onrender.com
Before doing this, create your own remote logger on free-tier cloud platform, https://render.com. One can use, same remotelink in multiple machines and users. However, free-tier link has some limitations on bandwidth. If you want to use remotelink for your institution, we suggest to purchase suitable paid version or setup seperate remotelink for different users.
Update remote logger link and/or e-mail ids
If user wants to update the already provided remote logger link or e-mail id(s), simply run the above commands with new values. MeerSOLAR will automatically update the database with these new values.
Tutorial to setup remote lor link
Go to https://dashboard.render.com/. It will take you to the login page. If you do not have an account on https://render.com, create an account and login.
After login, you will land up in the following page. Click on Add new and then Web Service.

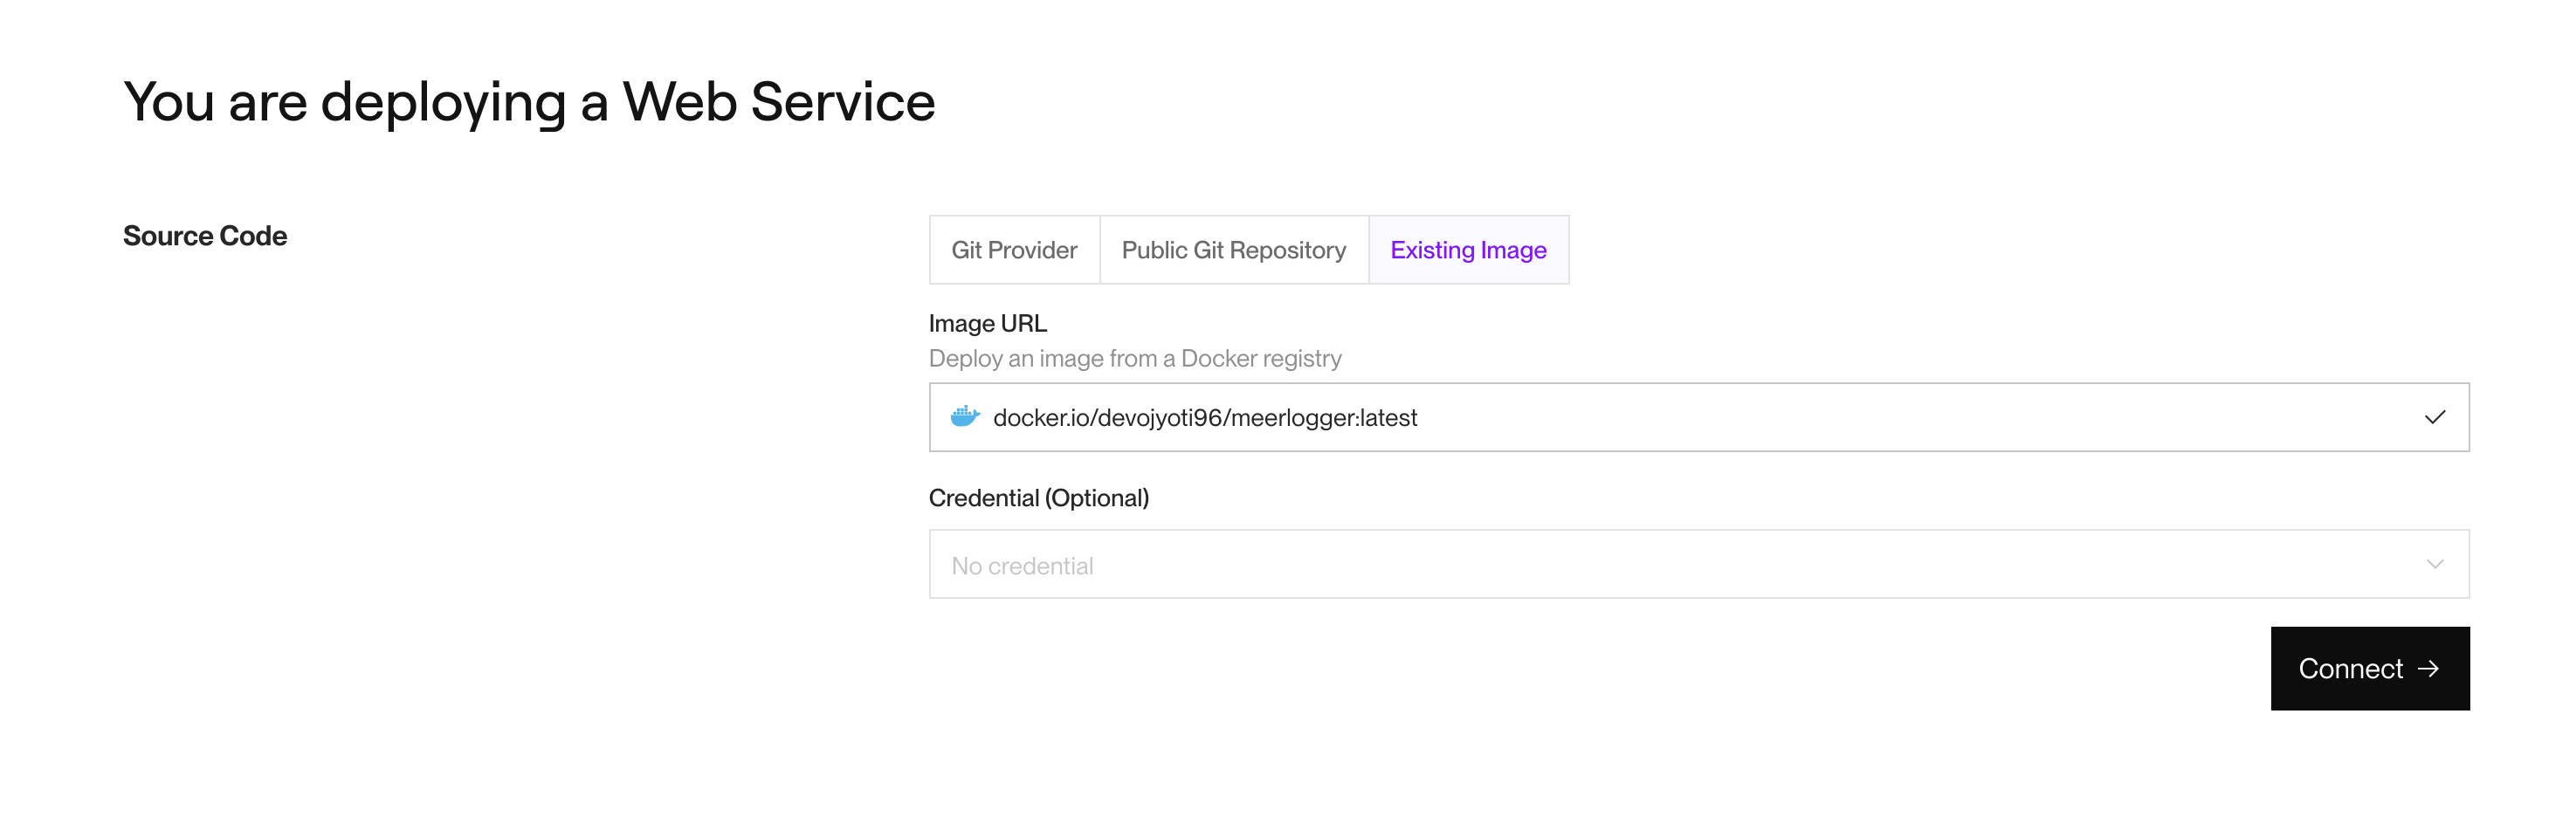
Then the following page will open. Select Exisiting image table and put docker.io/devojyoti96/meerlogger:latest in the Image URL box. If the image link is correct, a blue tock will appear the right corner of the box as hown in the image below. Then click on black Connect–> button at the bottom of the page.
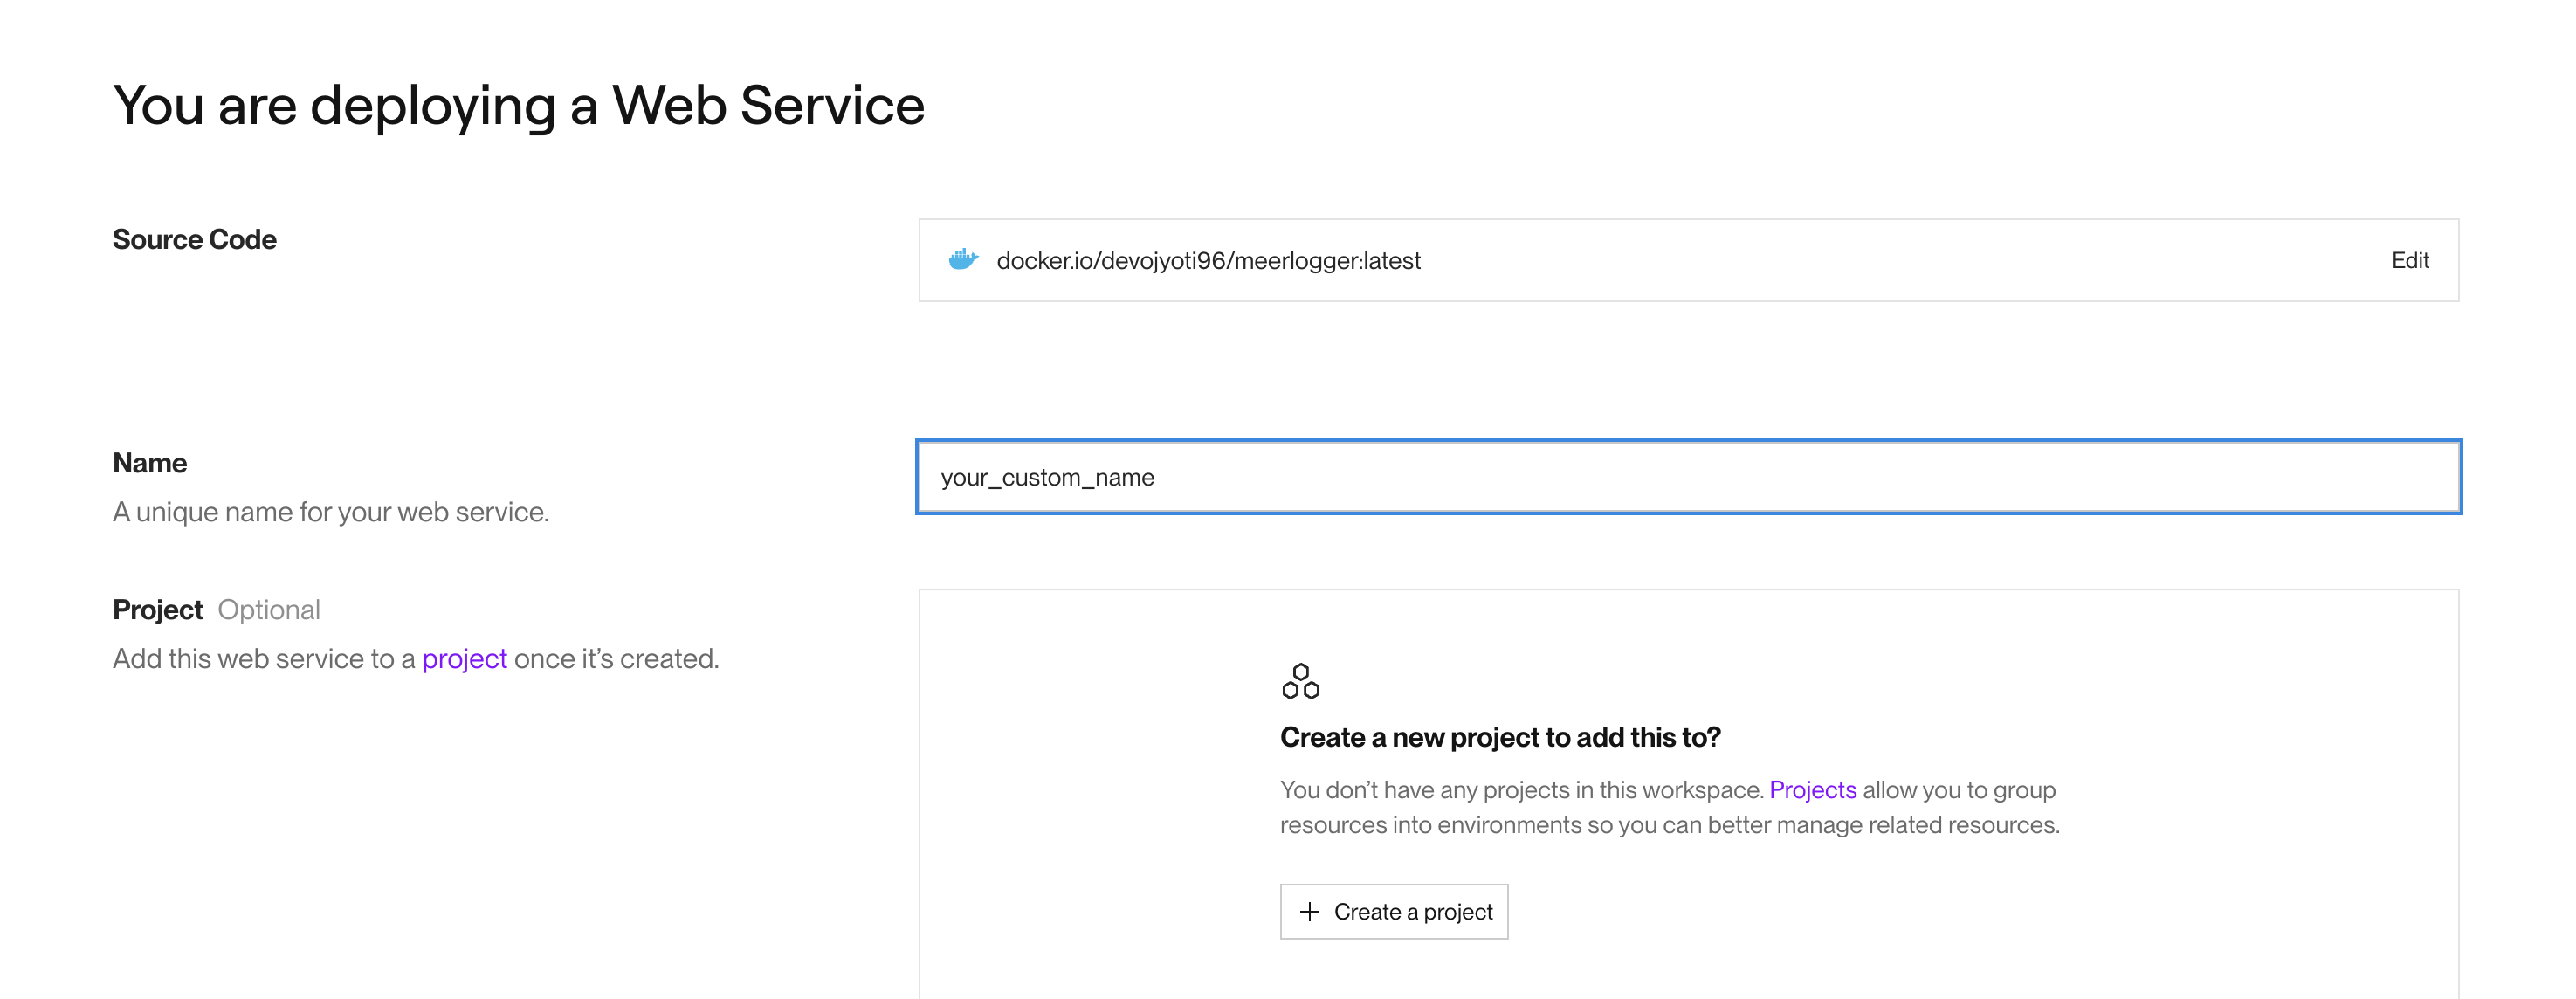
Next, you will land up in the following page. In the name box, type your custom remote logger name, <remote-logger-name>. If the name is in use by anyone else and not available, a red text will appear below the box showing Name is already in use. Modify the name to have a unique available name. Once done, scroll down to the middle of the page.
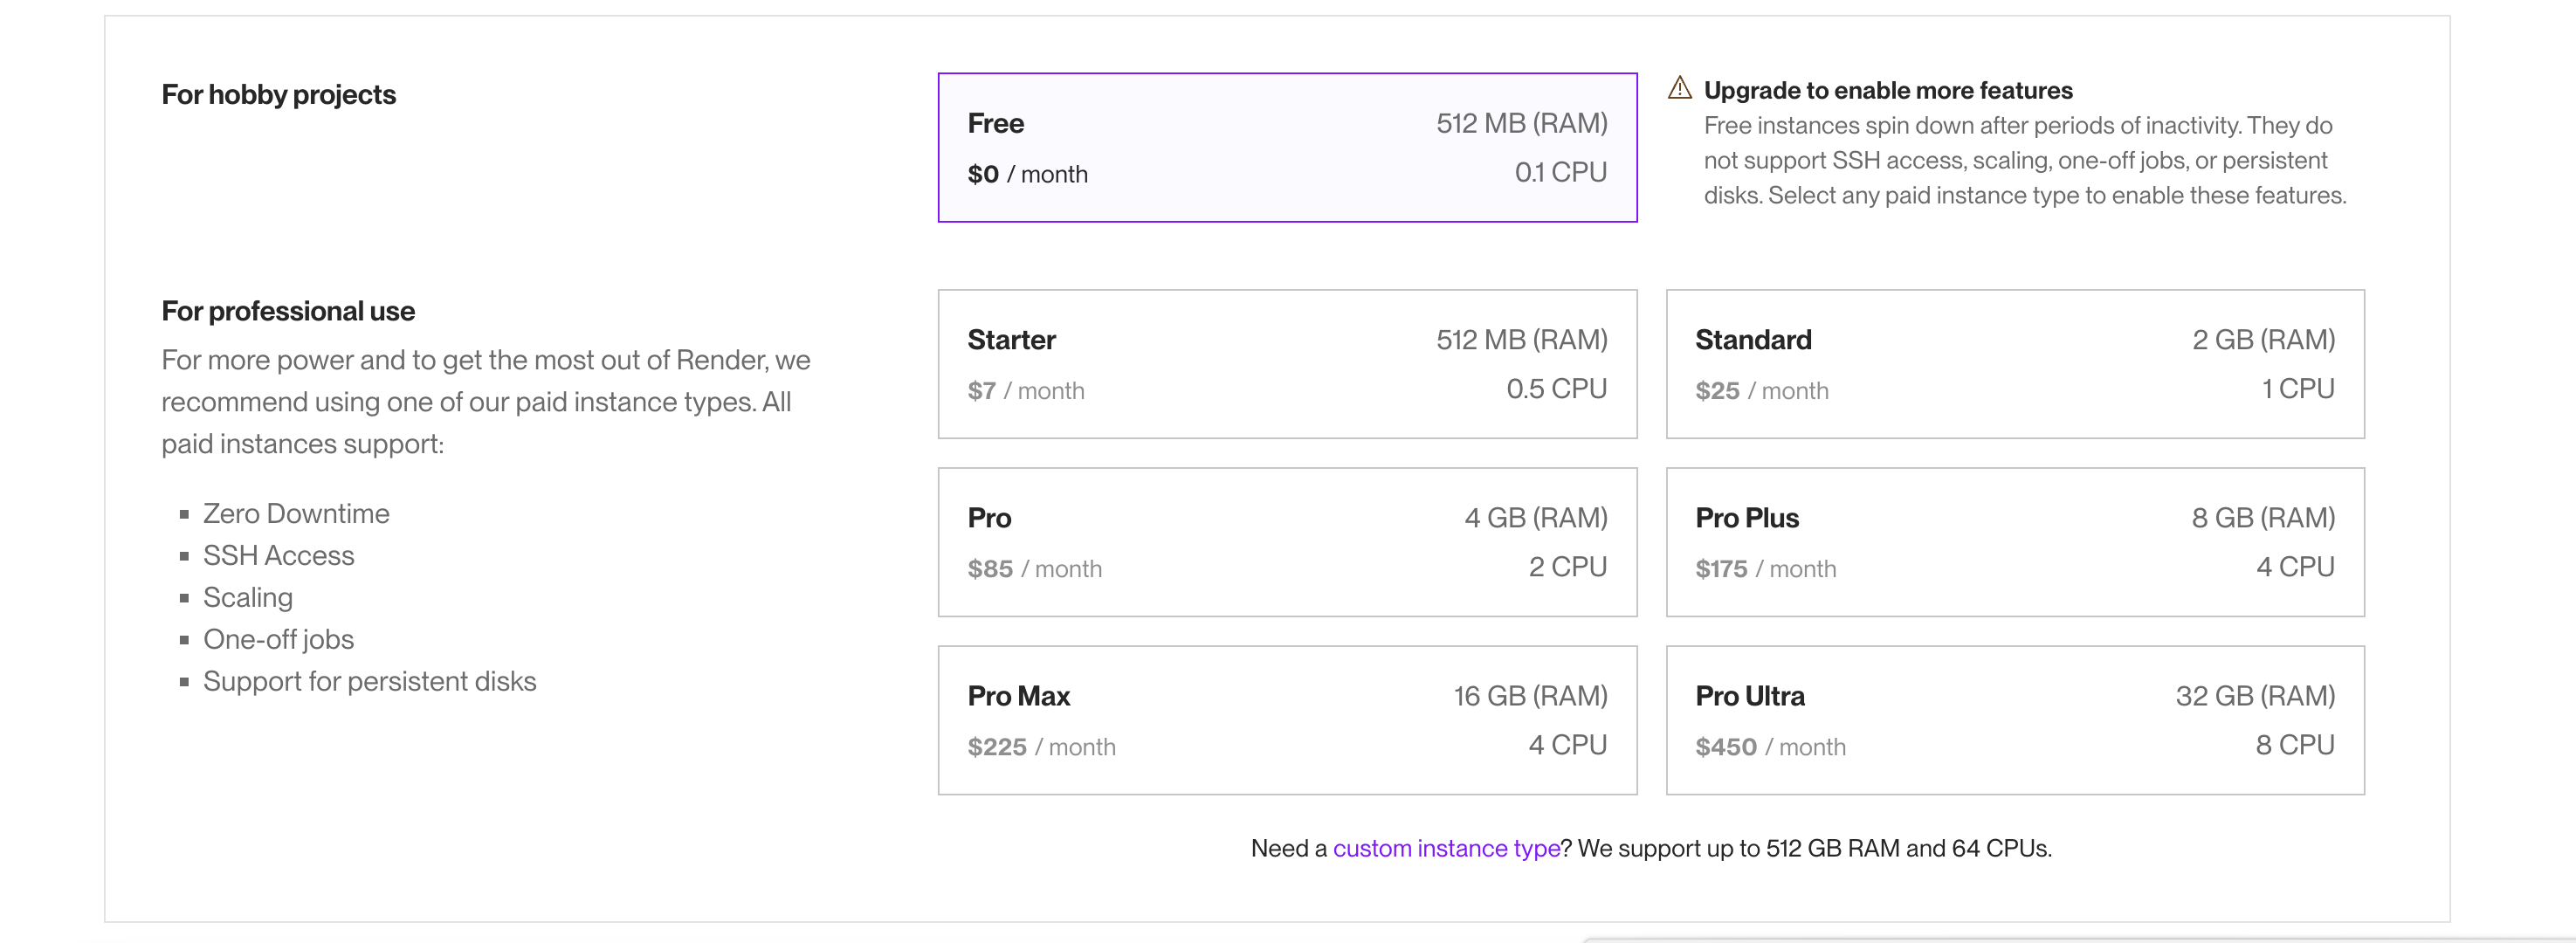
In the middle of the page, select the user-plan. For individual user, you can choose Free as shown in the image below. If you want any paid version, choose the appropriate one.
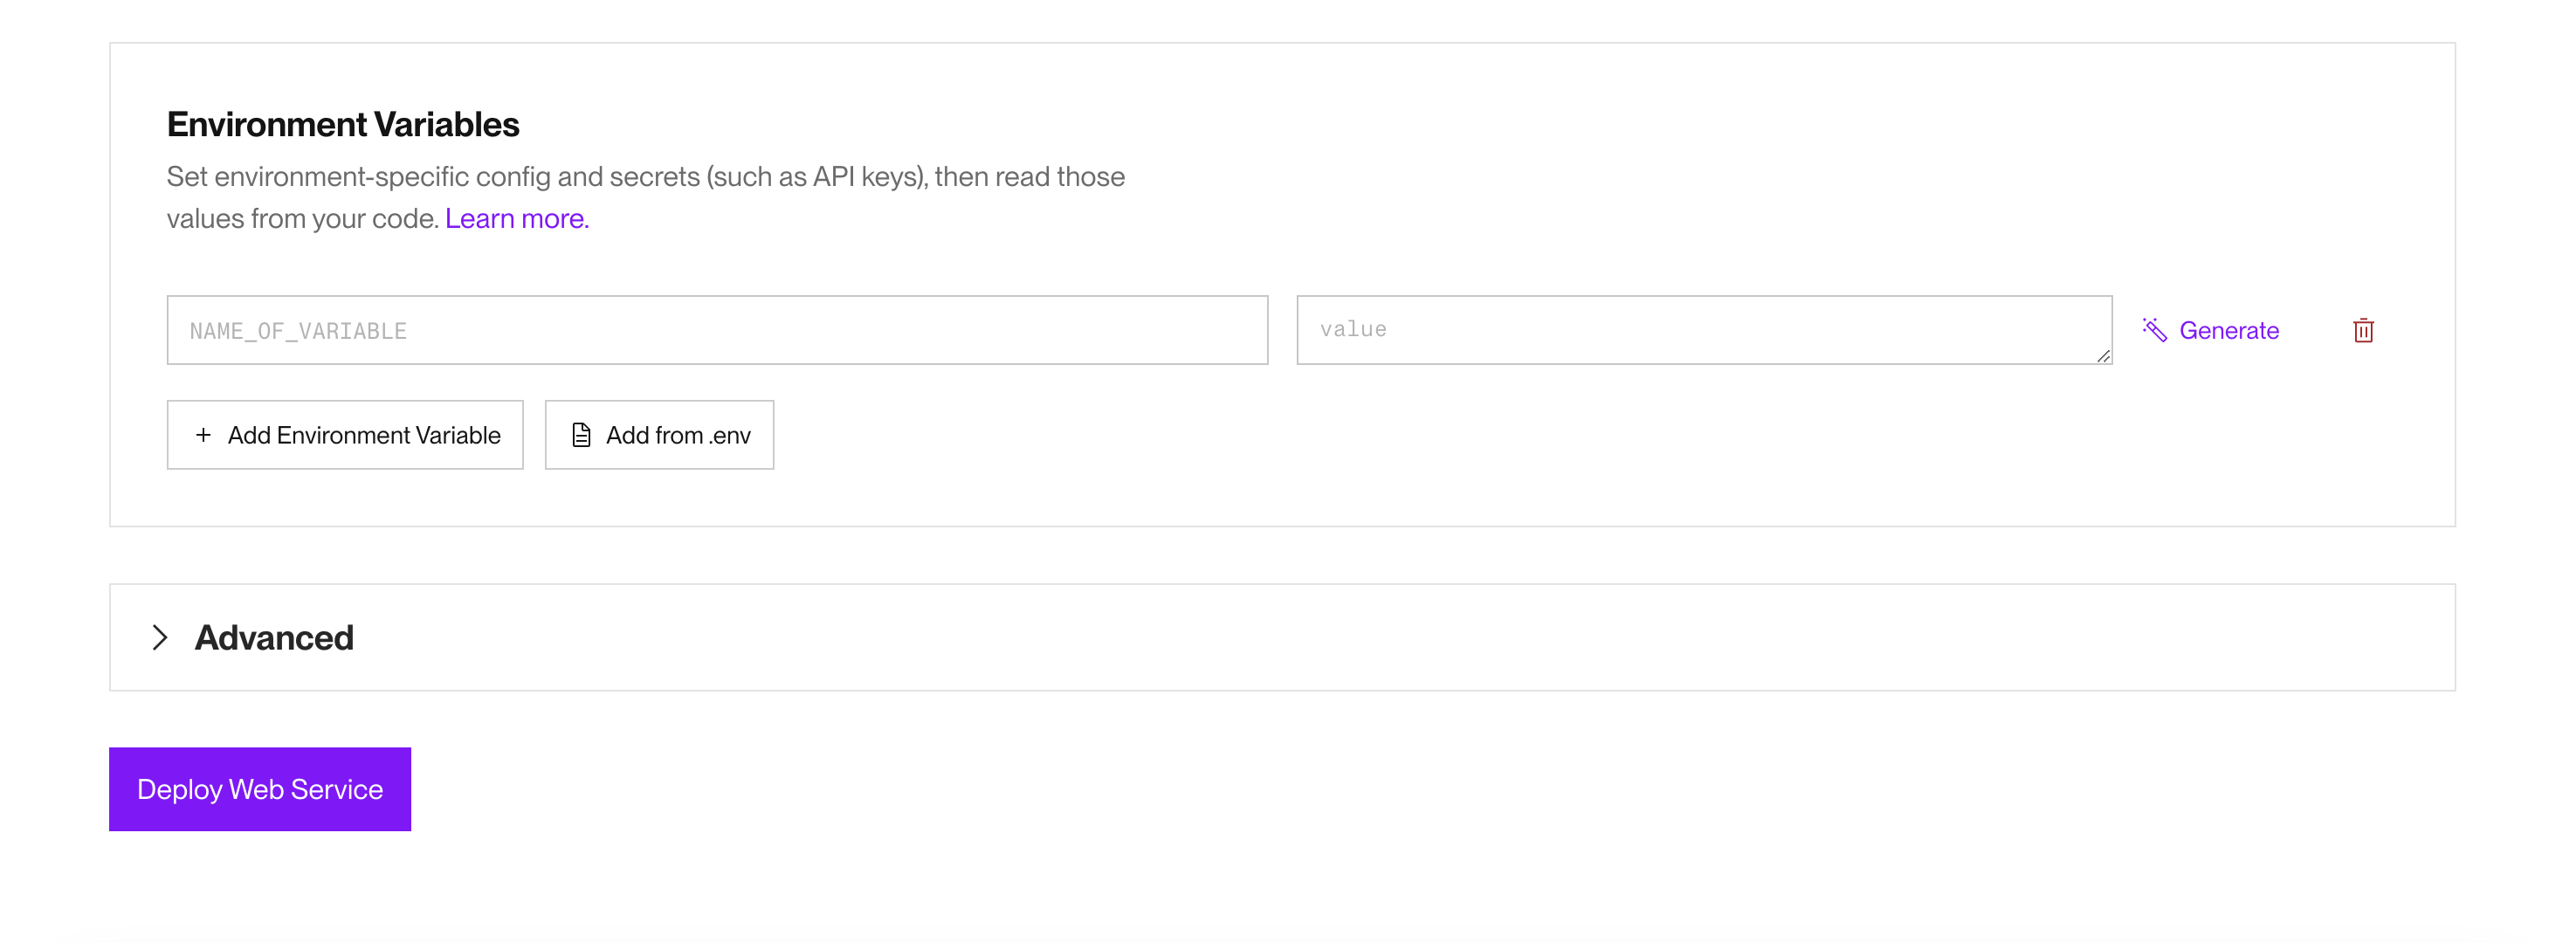
Then go down to the bottom of the page. Click of Deploy button.
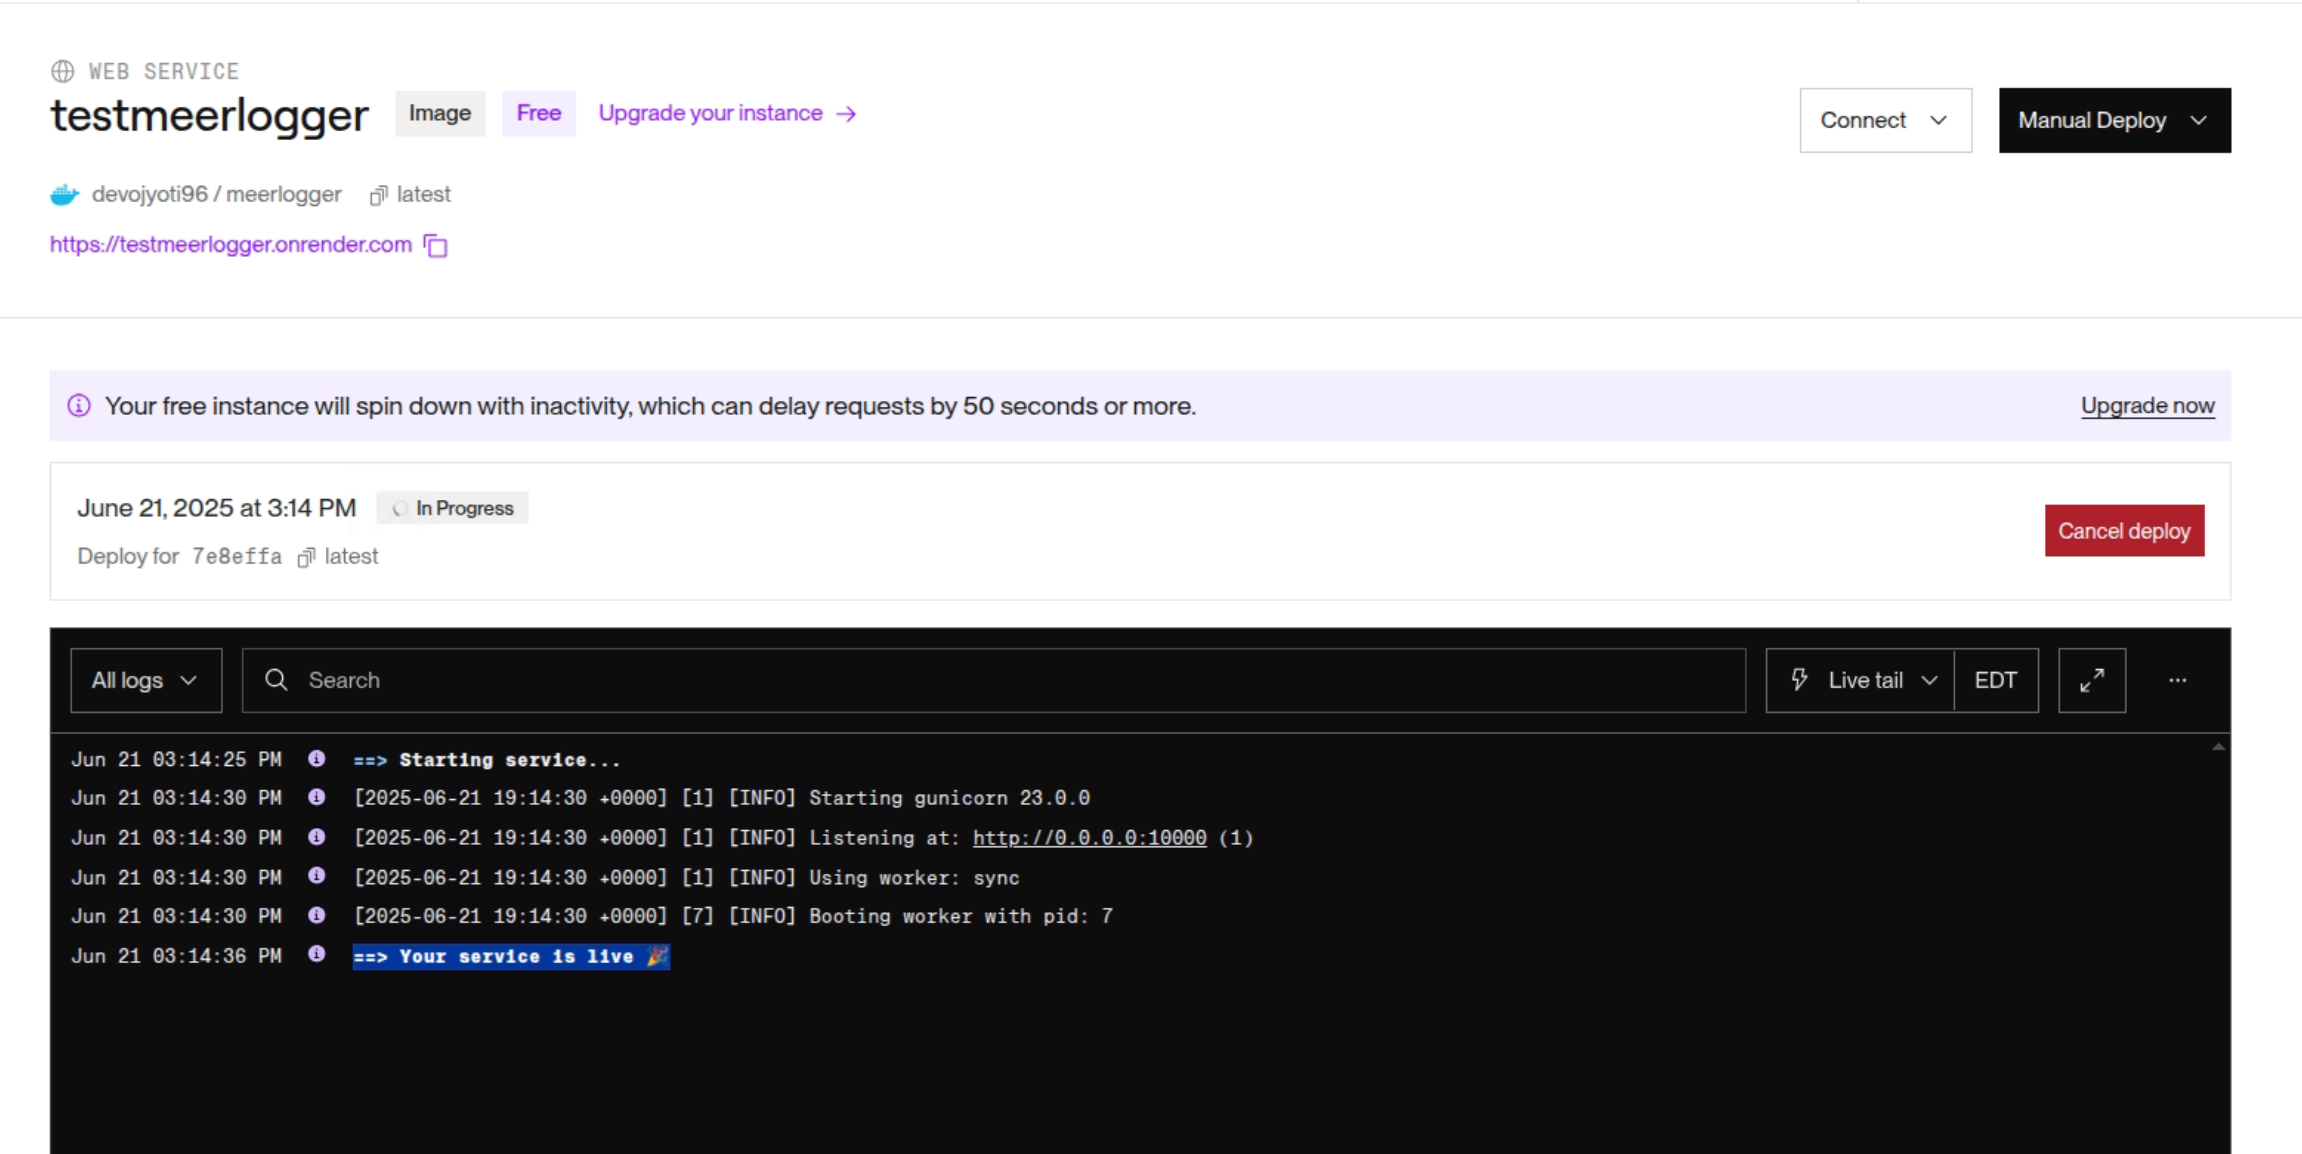
In the next page, you will see web-service is being started. Once you see, ==> Your service is live 🎉 as shown in the image below, your remote logger is ready to use. Your remote logger link is also shown just above the black window, and it will be https://<remote-logger-name>.onrender.com.
Now use this link to setup as remote logger link as described above. This link is persistent and can be used in multiple machines. Your MeerSOLAR job logs will appear in https://<remote-logger-name>.onrender.com. How to access